


Cleaning your cat’s ears is an important part of their grooming habits and overall pet care routine. If you’ve noticed your feline friend shaking their head more than usual or their ears have an unusual amount of wax build-up, it might be time for a cleaning.
Just as you enjoy that refreshing feeling after a good ear cleaning, your cat can too—although they might not initially be as enthusiastic about the process!
Ear infections in cats can be quite common, particularly in breeds with floppy ears, so it’s essential to maintain good ear hygiene to prevent these issues.
Actually, during one of my routine checks, I discovered a small amount of debris that turned out to be the early signs of an infection. Catching these things early ensures that cleaning can prevent complications, which is far easier than treating an infection later on.
From my experience, I’ve learned that being gentle and patient during ear cleanings builds trust with your cat. Each cat is unique, with some being more tolerant of ear cleaning than others. With a calm approach and the right supplies—a vet-approved ear cleaner and some cotton balls—you can make ear cleaning a stress-free experience for both of you.
Preparing for Ear Cleaning
Before you start the ear cleaning process, it’s essential to be fully prepared.
Gathering Necessary Supplies
To begin, you’ll want to have the right tools on hand:
- Ear cleaner: Use a solution formulated specifically for cats. Avoid hydrogen peroxide, alcohol, or vinegar, as these can irritate the delicate skin inside your cat’s ears.
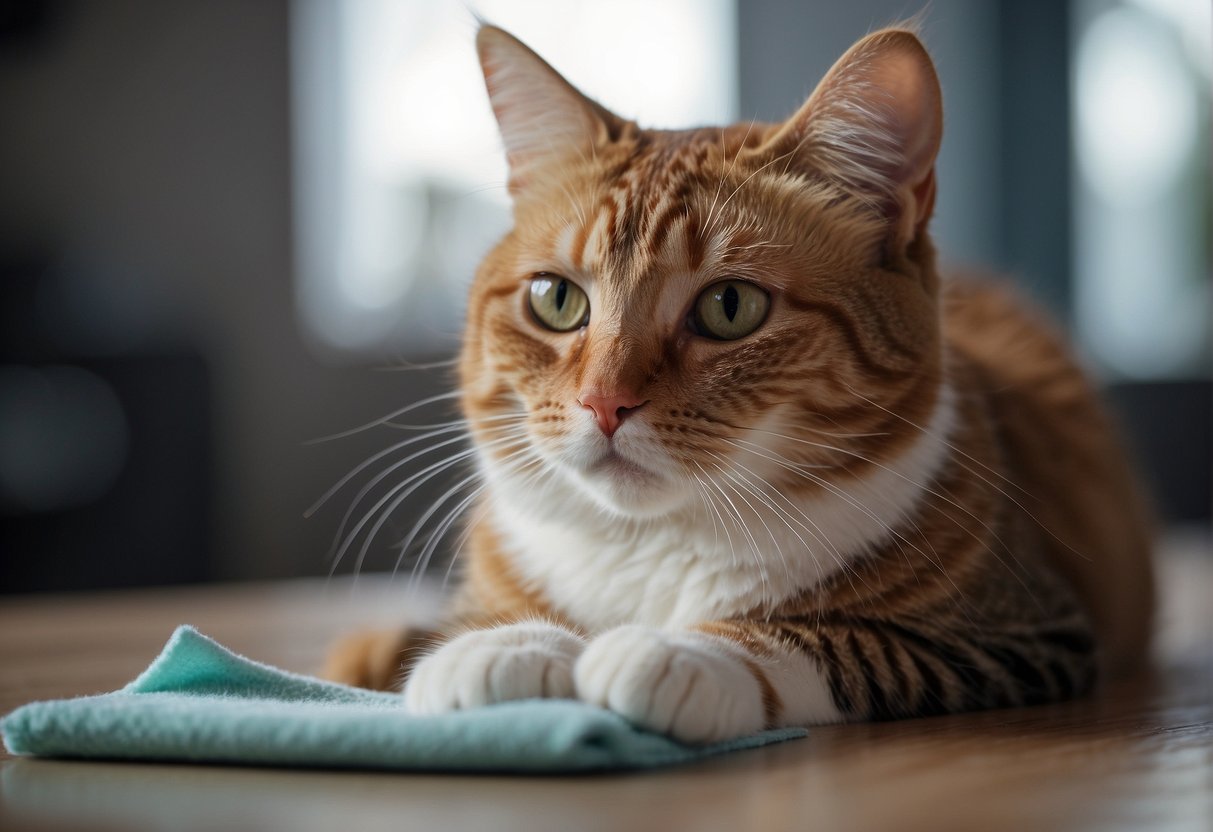
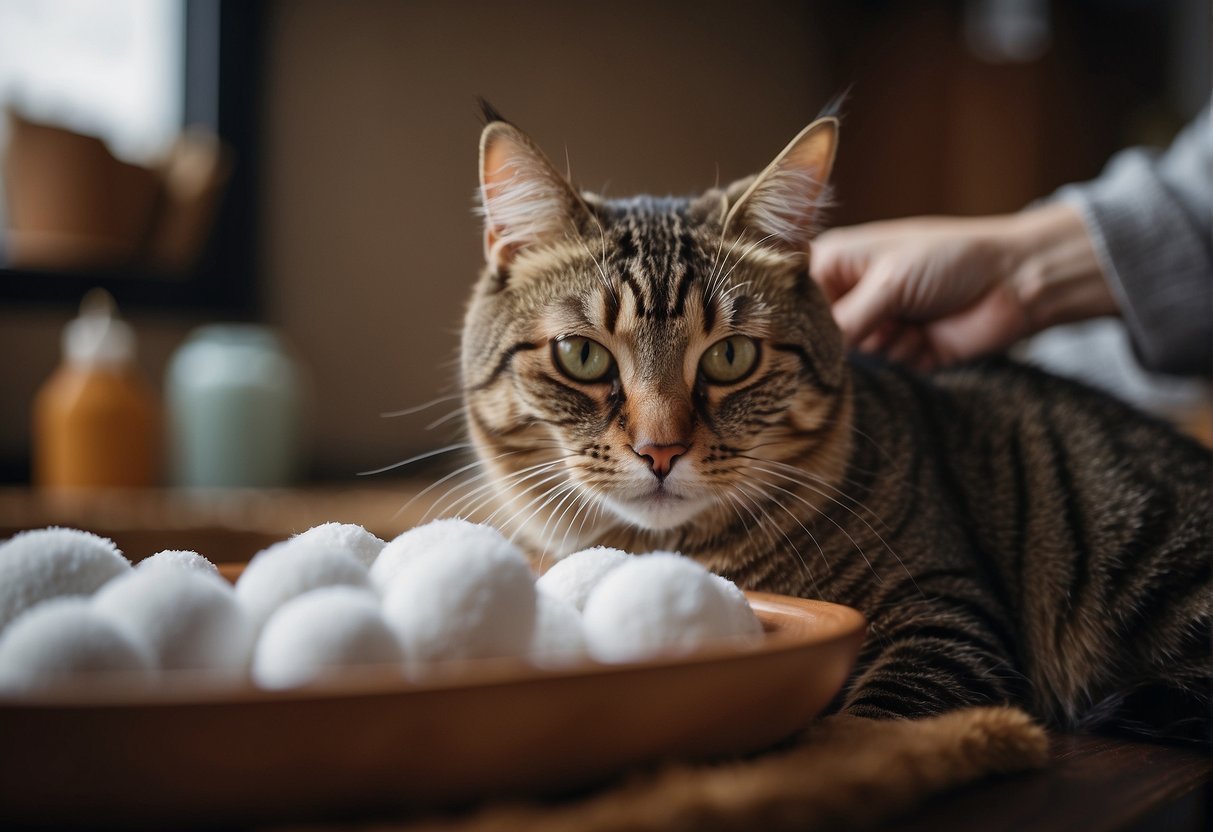
- Cotton balls or gauze: These are softer and safer than cotton swabs, which could damage the ear canal or eardrum.
- Towel or washcloth: Helpful to wrap your cat for restraint and to clean up any spills.
- Treats: Keep these close by to reward your cat and create positive associations with ear cleaning.
Remember, the goal is to remove debris without causing any stress or discomfort.
Creating a Calm Environment
Next, set the scene for a tranquil experience:
- Choose a quiet, well-lit space.
- Place your cat on your lap or a stable, comfortable surface.
- Have a towel wrapped around them not only for warmth but also as a gentle restraint if needed.
- Stay calm and speak softly; cats can pick up on your anxiety and become stressed themselves.
Securing Your Cat Safely
Proper restraint is key to a successful ear cleaning:
- A calm, firm hold reassures your cat and keeps them still.
- You might want an extra pair of hands; a helper can gently cradle your cat in their lap or help hold them in place with a towel.
- Always be gentle; never force your cat’s head or cause discomfort.
The Cleaning Process
Proper ear cleaning is vital for your cat’s health and comfort. This step-by-step guide ensures a safe and thorough clean, safeguarding against potential ear problems.
Examining the Ears
Before you start, ensure the environment is calm to keep your cat at ease. Begin by examining the outer ear for signs of redness, discharge, or odor which could indicate a need to visit your vet.
You should be looking for any excess wax but do not attempt to inspect the inner ear, as this requires professional veterinary equipment.
Applying Cleaning Solution
To start the cleaning, you’ll need a vet-approved ear-care solution. Never use hydrogen peroxide, vinegar, or alcoholas these can irritate the ear. Apply the recommended amount of solution into the ear canal without touching the applicator to the ear to avoid contamination.
Gently Cleaning the Ears
With a cotton ball or a gauze pad, gently wipe the accessible parts of the ear. Focus on the pinna and the area around the ear canal. Steer clear of q-tips or cotton swabs as they may push debris further in and damage the eardrum.
Massaging the Ear Canal
After applying the cleaner, use your fingers to gently massage the base of the ear. This helps break up earwax and allows the cleaning solution to work effectively. You should hear a squishing sound which indicates that the solution is moving inside the ear canal.
Wiping Away Excess Cleaner
Finally, use a fresh cotton ball or gauze to wipe away any excess cleaner and dislodged debris from the ear flap and the outer ear. Repeat the process until there’s no more residue coming off on the cotton ball, but limit the number of times to avoid irritation.
Aftercare and Monitoring
Once you’ve cleaned your cat’s ears, it’s essential to keep an eye on them to ensure they stay healthy and to catch any potential issues early. Monitoring your cat’s ears after cleaning is crucial for preventing infections and other complications.
Checking for Complications
After you’ve cleaned your cat’s ears, you need to watch for signs of complications such as redness, an unusual amount of wax, swelling, or discharge, which could indicate an infection or irritation.
Check for any signs of discomfort in your cat, like excessive scratching or shaking of their head. If your cat’s ears appear inflamed or they exhibit signs of pain, it’s important to consult with a veterinarian to rule out or treat conditions such as bacterial infections or mite infestation.
Signs to watch for:
- Redness or swelling
- Discharge or an unusual amount of wax
- Foul odor
- Ears appear painful to the touch
- Persistent scratching or shaking of the head
If you notice any bleeding or feel any bumps within the ear, these may be indicative of trauma or more serious conditions.
Scheduling Regular Cleanings
Regular cleanings contribute significantly to your cat’s overall ear health. Depending on your cat’s needs, which can vary due to factors like breed, age, and their environment, you may need to clean their ears anywhere from once a week to once a month.
Cats prone to wax build-up or those with floppy ears may need more frequent attention. It’s always a good idea to discuss a grooming schedule with your veterinarian to get tailored advice for your feline friend.
General Guidelines:
- Short-haired or indoor cats: Often require less frequent ear cleanings.
- Long-haired or outdoor cats: May need more regular cleanings due to dust and debris.
- Cats with previous ear infections or mites: Might require a specific cleaning regimen.
Remember that good ear hygiene doesn’t include inserting anything into the ear canal, including Q-tips, as this could cause damage. Instead, use a vet-recommended cat ear cleaner and apply it to a soft cloth or cotton ball to gently wipe the outer part of the ear.


My name is James, and welcome to FAQCats!
Along with our team of cat owners, expert pet enthusiasts, and pet professionals, we aim to write engaging helpful, engaging content about cats. At FAQCats we strive to provide content that’s accurate and fun to read. Our team writes about everything related to cats; even the most complex of topics. Through extensive research and caring for our own fur-pals, we’re able to provide something cat owners worldwide will love. Have a look around, and leave us feedback anytime!